How to Winterize a Travel Trailer in 10 Steps
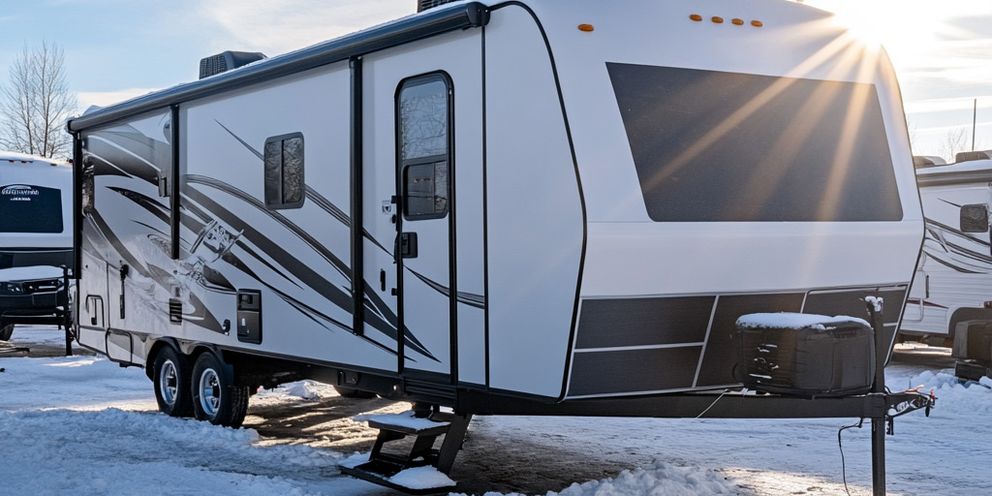
Owning a travel trailer is a fantastic way to explore the great outdoors and embark on adventures. However, as the seasons change and winter approaches, it is essential to take the necessary steps to protect your investment from the cold, freezing temperatures. Winterizing your travel trailer is a crucial process that will safeguard it from any potential damage caused by freezing water or pest infestations. Read on as we guide you through the ten essential steps to winterize your travel trailer effectively.
Step 1: Drain the Water System
Begin by locating the freshwater holding tank drain valve and opening it. Allow all the water to drain completely. Once drained, locate the low-point drain valves, usually near the water pump, and open them to remove any remaining water in the lines.
*Don't forget to drain the hot water heater.
Turn off the water heater and let it cool down for at least 15 minutes. Open the pressure relief valve to relieve any pressure, and then open the drain plug to allow the water to drain out completely. Be cautious, as the water might still be hot.
After draining the water system, the best practice is to inspect all the water lines for any signs of damage or wear. Look for cracks, leaks, or loose fittings that may need to be repaired, ideally before the next camping season. It's essential to ensure that your water system is in good condition to prevent any issues when you're ready to use your travel trailer again.
You may also consider using a non-toxic RV antifreeze to protect your water system from freezing temperatures. The antifreeze is pumped through the system to displace any remaining water and provide extra protection during the winter. If you take the additional precaution of adding the antifreeze, you must complete Step 2. By taking these extra precautions, you can help prolong the life of your travel trailer's water system and avoid costly repairs due to freezing damage.
Step 2: Bypass the Water Heater
It is best practice to bypass the water heater, especially if you have chosen to add antifreeze to the water system, to prevent antifreeze from entering the water heater. Locate the water heater bypass valves, usually found near the back of the water heater. Close the valves to redirect the water flow, allowing you to bypass the water heater entirely.
When bypassing the water heater, you create a detour for the water in your RV's plumbing system. By shutting off the water heater bypass valves, you ensure that the antifreeze used for winterizing your RV does not mix with the water that may still be present in the heater. This step is crucial in protecting your water heater from potential damage and ensuring that your RV's plumbing system remains in good working condition during the colder months.
It's worth noting that some RVs may have different types of water heater bypass systems, such as a three-valve or two-valve bypass. Understanding the specific bypass system in your RV will help you effectively bypass the water heater and avoid any mishaps during the winterization process. Taking the time to locate and familiarize yourself with the bypass valves will make winterizing your RV a smoother and more efficient task in the future.
Step 3: Blow Out Water Lines
Blowing out the water lines is essential in winterizing your travel trailer to prevent potential damage from freezing temperatures. Removing residual water ensures that your plumbing system remains intact during the colder months. This process is crucial for maintaining the longevity of your trailer's water system.

Begin by connecting an air compressor to the water inlet on your travel trailer (this will most likely require using an adapter). Be mindful to select the appropriate air pressure for this task to avoid damaging the plumbing system. Open all the faucets, including the hot and cold lines, and flush the toilet to allow any trapped water to escape. This thorough approach will help clear out all the water from the lines, including any hidden pockets that could lead to potential issues down the line.
Starting from the far end of the trailer, use low-pressure air to blow out each water line individually until no more water comes out. This step is significant, so take your time. Properly blowing out the water lines will give you peace of mind that your trailer is well-prepared for winter.
Step 4: Add RV Antifreeze to the Water System
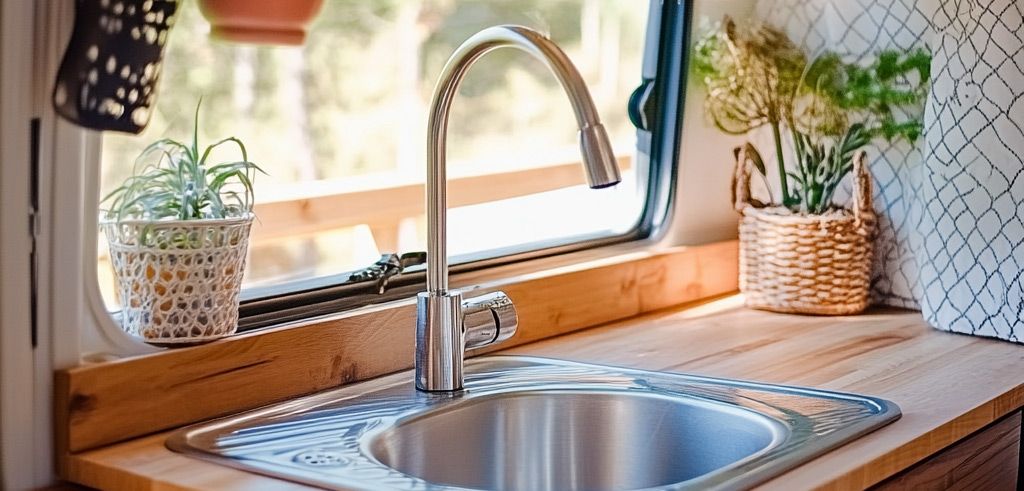
Adding RV antifreeze to the water system is crucial, protecting it from freezing temperatures. Start by closing all the faucets and valves. Next, pour RV antifreeze into the freshwater holding tank. Use a water pump bypass kit or disconnect the inlet side of the water pump to avoid contaminating it with antifreeze. Turn on the water pump, and one by one, open each faucet until you see the pink-colored antifreeze flowing. Repeat this process for all fixtures, including the shower, toilet, and outdoor faucets.
RV antifreeze, designed to withstand freezing temperatures without solidifying, is essential for winterizing your RV. It typically contains propylene glycol, which is non-toxic and safe for plumbing systems. The pink color of RV antifreeze helps identify it in the water system, ensuring thorough coverage.
When adding RV antifreeze to the water system, flush any water lines connected to appliances such as the refrigerator's ice maker or washing machine. Properly winterizing your RV with RV antifreeze can save you from costly repairs and extend the lifespan of your recreational vehicle.
Step 5: Protect the Exterior
The exterior of your travel trailer also needs protection during the winter months. Thoroughly wash the exterior, making sure to remove any dirt or debris. Apply a coat of high-quality wax to protect the finish from harsh weather conditions. Check for cracks or gaps on the roof, windows, and doors. Use silicone caulking to seal openings, ensuring water cannot infiltrate your trailer.
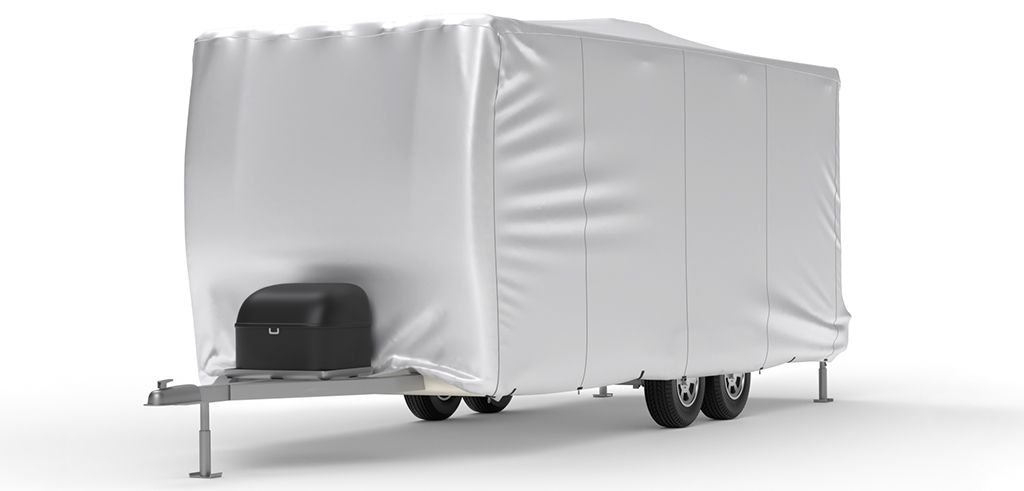
Additionally, consider investing in a breathable cover specifically designed for travel trailers. This cover will provide an extra layer of protection against snow, ice, and UV rays, helping preserve the exterior of your trailer for years to come. Secure the cover to prevent it from coming loose during strong winds.
Another aspect of protecting the exterior of your travel trailer is to inspect the tires for proper inflation and signs of wear. Cold temperatures can cause tire pressure to drop, so check and adjust the pressure as needed. Additionally, consider using tire covers to shield the tires from the elements and prevent cracking due to prolonged exposure to the sun.
Step 6: Seal Windows and Vents
Sealing windows and vents is crucial to prevent heat loss and water intrusion. Inspect each window and vent carefully for any gaps or cracks. Apply weatherstripping tape or silicone caulking to seal any openings, ensuring a tight seal. Doing so will improve your trailer's energy efficiency and keep moisture out.
Step 7: Remove and Store Batteries
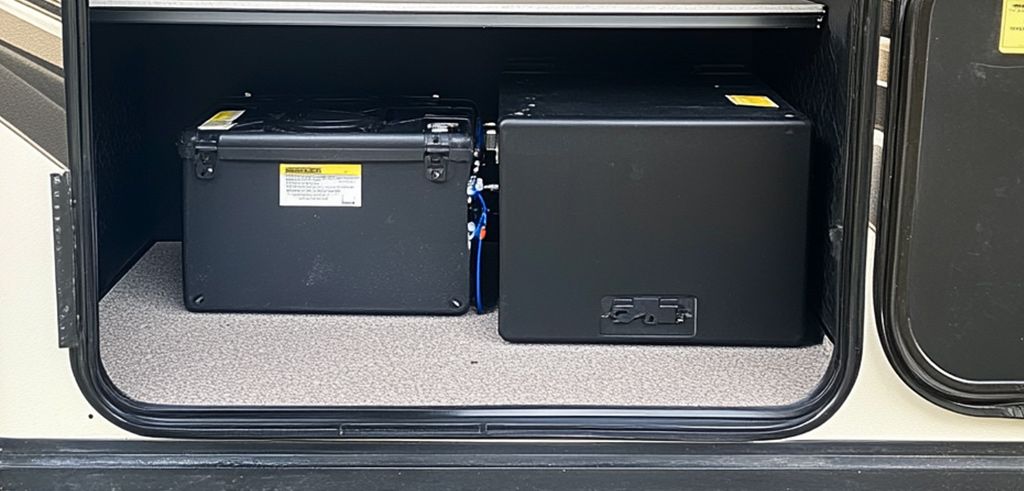
During the winter, you should remove and store your travel trailer's batteries. Disconnect the batteries by removing the negative cable first, followed by the positive. Clean the battery terminals using a wire brush. Make sure to remove any corrosion. Store the batteries in a cool, dry place. Periodically charge them to maintain their life and performance.

Step 8: Prepare the Interior
Preparing the interior of your travel trailer for winterization is as equally important. Thoroughly clean the entire interior, including the kitchen area, bathroom, and sleeping quarters. Remove any perishable food items. Clean and sanitize the refrigerator. *Bonus: place moisture-absorbing products, such as desiccants or dehumidifiers, to prevent condensation and mold growth. Finally, ensure that all windows, curtains, and blinds are tightly closed to minimize heat loss.
Step 9: Prevent Rodent and Pest Infestations
As temperatures drop, rodents and pests may seek shelter inside your travel trailer. To prevent infestations, inspect your trailer for any potential entry points, such as gaps in the undercarriage or cracks in the exterior walls. Seal these openings using steel wool, expanding foam, or wire mesh. Additionally, remove any food sources and keep your trailer clean and free of crumbs or debris that may attract unwanted visitors.
Consider placing non-toxic rodent repellents, such as peppermint oil-soaked cotton balls or ultrasonic pest repellers, inside your trailer to deter rodents and pests from entering.
Step 10: Final Checks
Double-check that all faucets, valves, and drain plugs are tightly closed. Verify that all propane tanks are turned off and securely fastened. Inspect your trailer's tires for proper inflation. Consider using tire covers to protect them from sunlight and harsh weather conditions. Finally, cover your travel trailer with a breathable and weather-resistant RV cover to shield it from snow, ice, and UV rays.

Follow these ten steps, and you will effectively winterize your travel trailer and ensure its protection throughout the colder months. Proper winterization safeguards your travel trailer, allowing for an easy and stress-free start to your next camping season. So, take the time to prepare your travel trailer, and get ready to enjoy more memorable adventures when the warmer weather returns!
Storing your car outdoors as well? Check out our article on storing your car outdoors during winter.
Updated